Preparation Is Everything
A professional-looking paint job is 80% preparation. Start by removing all furniture or moving it to the center and covering with drop cloths. Remove outlet covers, switch plates, and light fixtures. Fill any holes or cracks with spackle, let dry, then sand smooth. Clean walls with a damp cloth to remove dust and cobwebs. Apply painter's tape to trim, ceiling edges, and around windows with precision - take your time here.
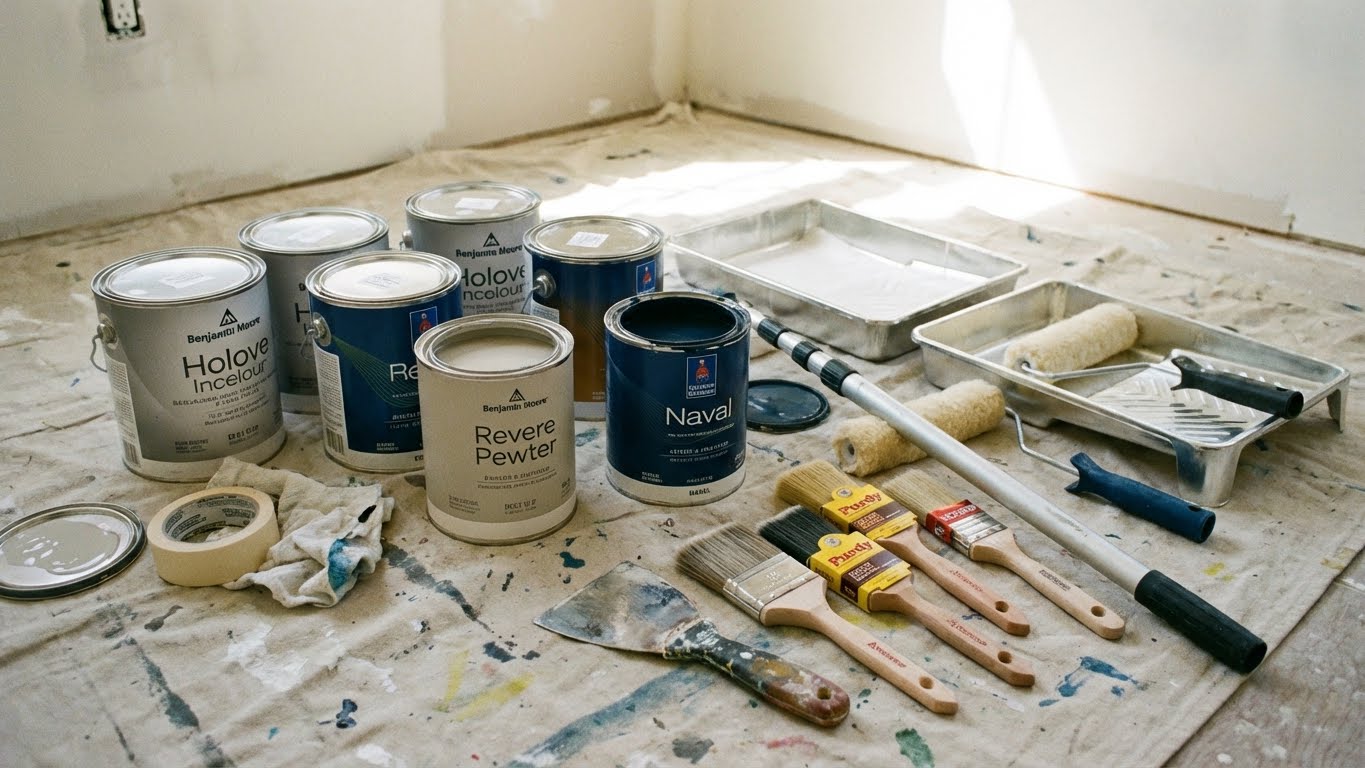
Choosing Paint and Tools
Invest in quality paint - premium paints cover better, last longer, and are easier to apply. Use flat or matte for ceilings, eggshell for walls, and semi-gloss for trim and high-traffic areas. Buy more than you think you need - running out mid-project is frustrating. Essential tools: quality brushes (2-inch angled and 3-inch), a 9-inch roller with appropriate nap (3/8 inch for smooth walls), extension pole, paint tray, and 5-in-1 tool.
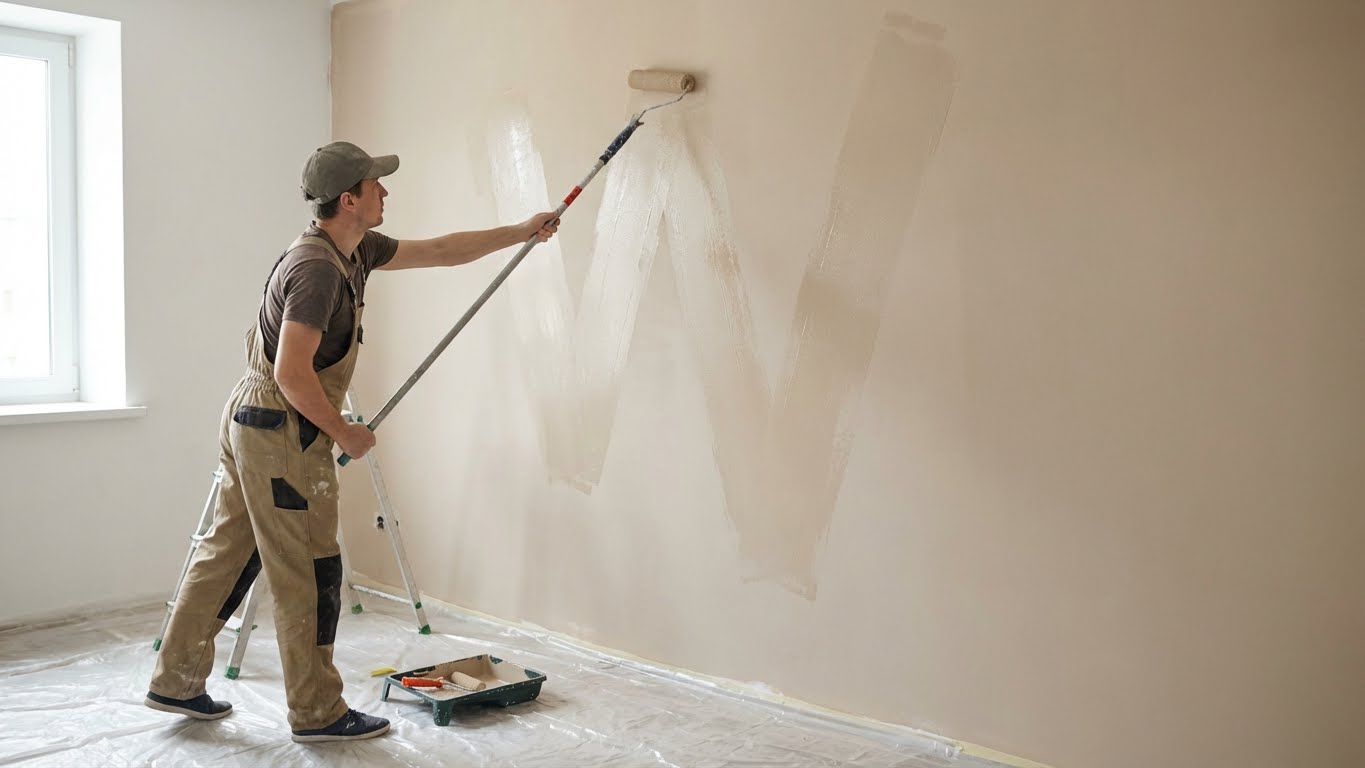
Application Technique
Start by cutting in around edges with a brush, creating a 2-3 inch border. Load your roller properly - roll it in paint, then roll off excess on the tray's grid. Apply paint in a W pattern, then fill in without lifting the roller. Work in sections of about 4 feet square, maintaining a wet edge to avoid lap marks. Apply two thin coats rather than one thick coat - it looks better and dries faster. Remove tape while the final coat is still slightly tacky for clean lines.