Project Overview
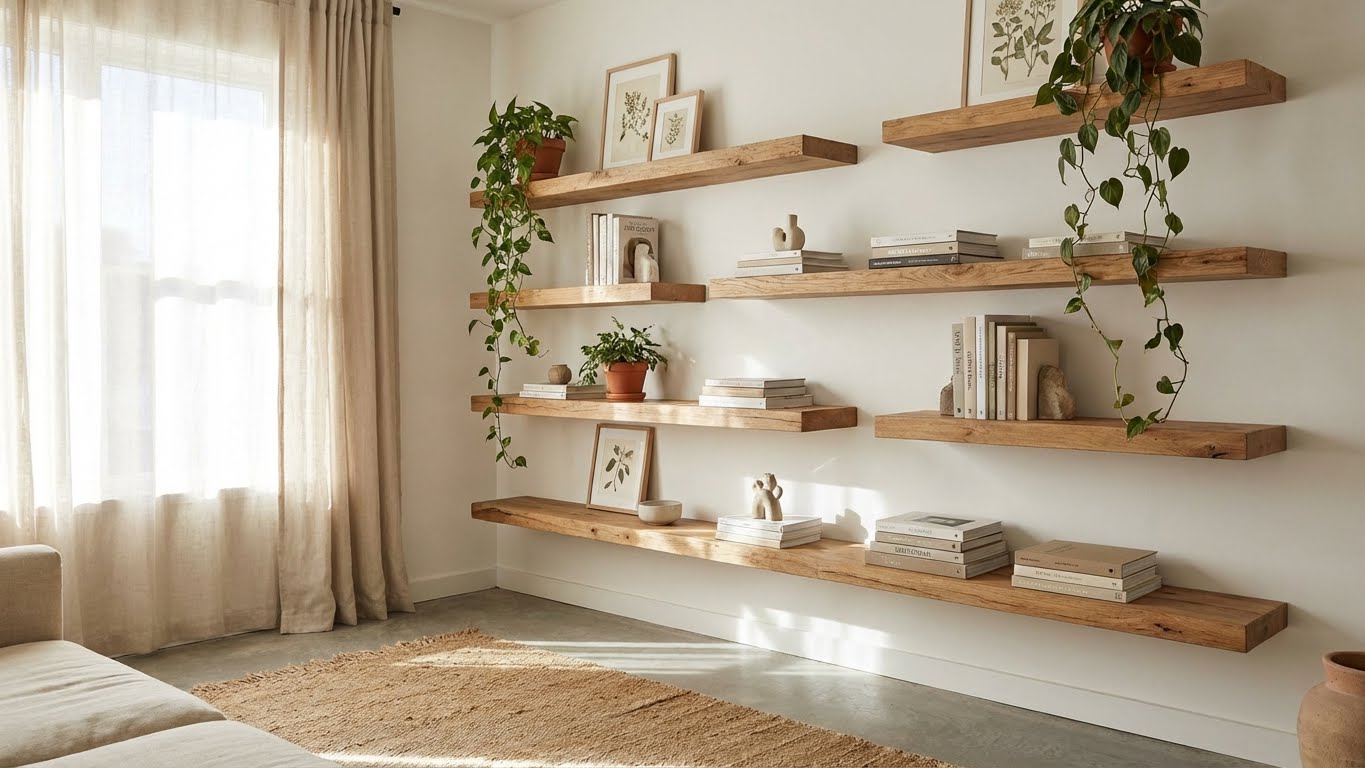
Floating shelves add elegant storage to any room while creating the illusion that they're magically attached to the wall. This weekend project requires only basic tools and materials, making it perfect for beginners. By the end of this tutorial, you'll have beautiful custom shelves that look like they cost hundreds at a furniture store - but cost a fraction of the price.

Materials and Tools Needed
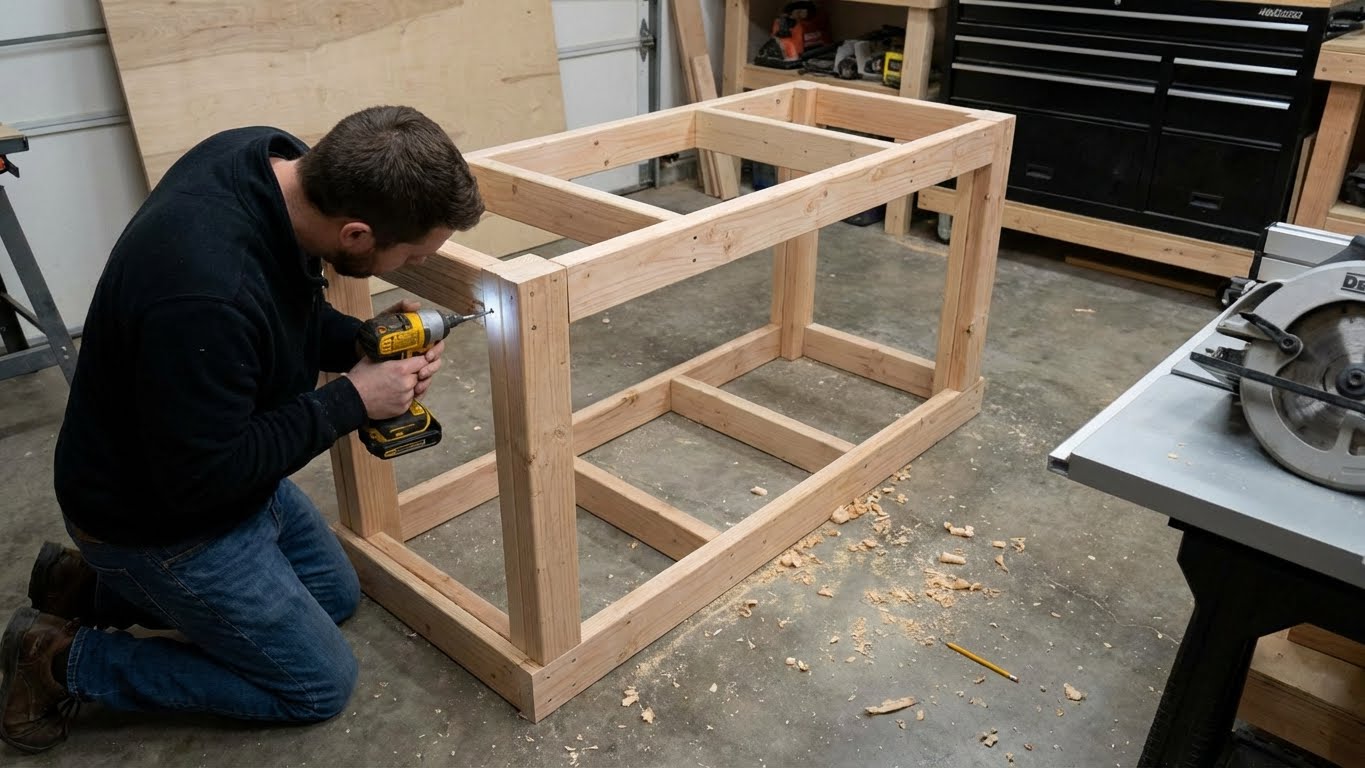
You'll need: 2x10 lumber (length depends on desired shelf size), a 2x4 for the mounting bracket, wood screws (3-inch and 1.5-inch), wood glue, sandpaper (120 and 220 grit), stain or paint of your choice, and polyurethane finish. Tools required: circular saw or miter saw, drill with bits, level, stud finder, tape measure, and a router with round-over bit (optional but recommended for a professional edge).
Building the Shelf
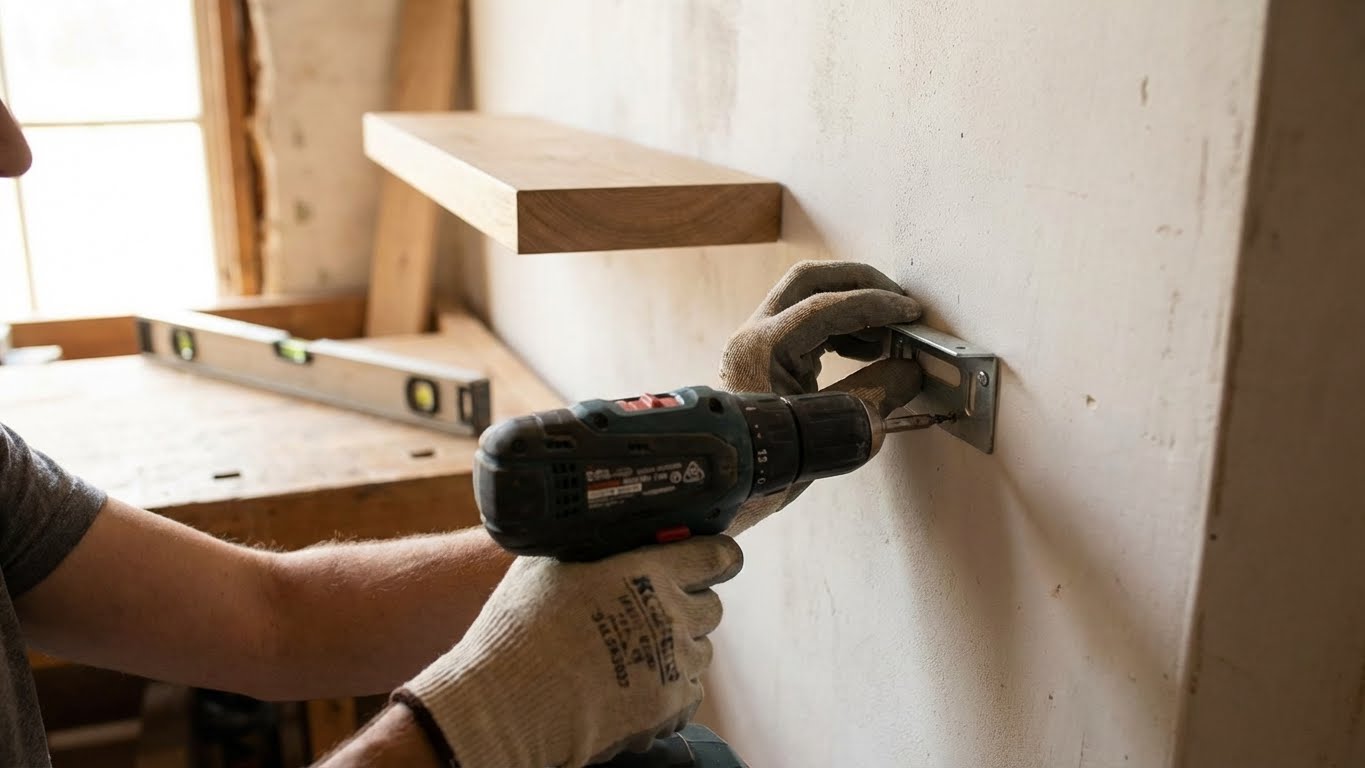
Cut your 2x10 to desired length - 24 to 36 inches works well for most spaces. Use a router to round over the front edge and ends, or sand them smooth for a simpler look. Sand the entire shelf starting with 120 grit, then 220 grit. Cut your 2x4 mounting bracket 2 inches shorter than the shelf length. Drill pilot holes every 8 inches and countersink them. Mount the bracket to wall studs using 3-inch screws - this is critical for strength. Slide the shelf over the bracket and secure from below with 1.5-inch screws.